getting-started
Quick Start
Get BurnerByte running and receive your first email in minutes.
Start the Servers
Open two terminals:
make run-apicd web && pnpm devThe API server starts on port 8080 and the frontend on port 3000.
The SMTP server (make run-smtp) is optional for initial setup. Start it when you're ready to receive real emails.
This assumes you have already run through Installation
— infrastructure up and .env in place. On a clean checkout with no .env and
no config.yaml the API has no database URL, so it boots the
first-run installer
instead: the log prints a one-time http://<host>:8080/install?token=... URL and
every other path answers 503.
Setup Wizard
Navigate to http://localhost:3000. On first launch, you'll be redirected to the setup wizard which guides you through:
- Platform Owner — Create the admin account (becomes system admin)
- Organization — Name your org (e.g., "My Company")
- Outbound SMTP — Configure email sending (for invites, password resets). You can use services like Mailgun, SendGrid, or your own SMTP server
- Domain — Add your first domain (e.g.,
test.example.com). You'll need to configure DNS records for this domain - Team (optional) — Create a team and assign the domain to it
- Branding (optional) — Set org logo and footer text
- Invites (optional) — Invite team members via email
After setup, any user who registers but has no organization is automatically redirected to /onboarding to create or join one. This is server-authoritative and cannot be dismissed. System admins are exempt — they can manage the platform (roles, SSO, system settings) without belonging to an org.
Sign In
Once the wizard finishes it drops you at the sign-in screen. Use the admin account you just created — or a configured SSO provider, if you set one up.
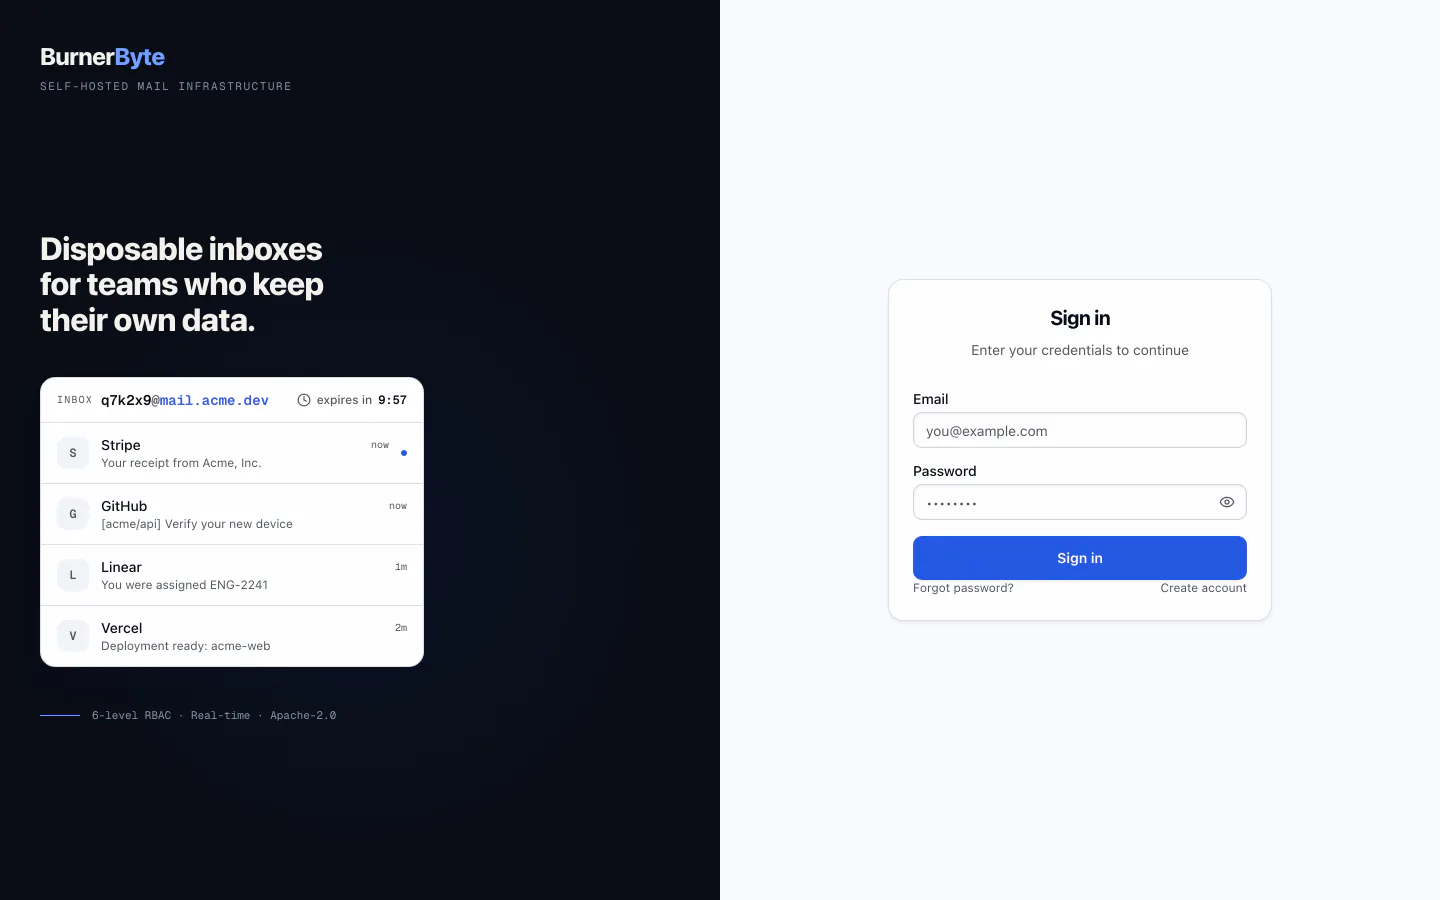
Signed-out visitors to the same address get the public landing page instead.
Create Your First Inbox
After setup:
- Select your team from the sidebar dropdown
- Navigate to Inboxes
- Click Create inbox
- Choose a domain, optionally set an alias, and pick a TTL
- Your temporary email address is ready — copy it and start receiving mail
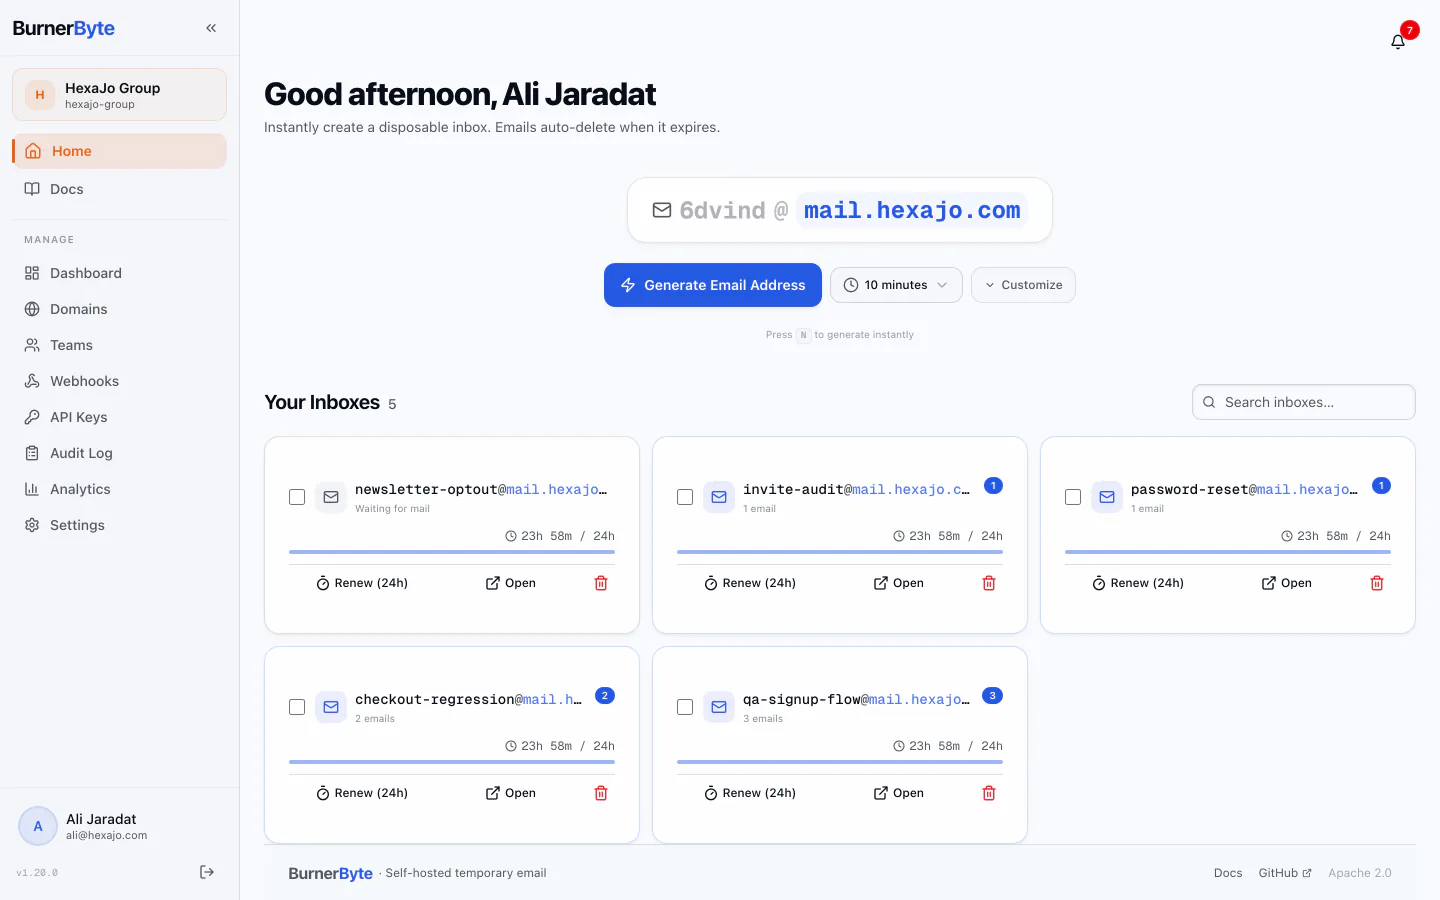
Receive an Email
Send a test email to your new inbox address. If the SMTP server is running and DNS is configured:
# Quick test with swaks (install via brew/apt)swaks --to your-alias@test.example.com --server localhost:2525The email appears in real-time via WebSocket — no page refresh needed.
What's Next
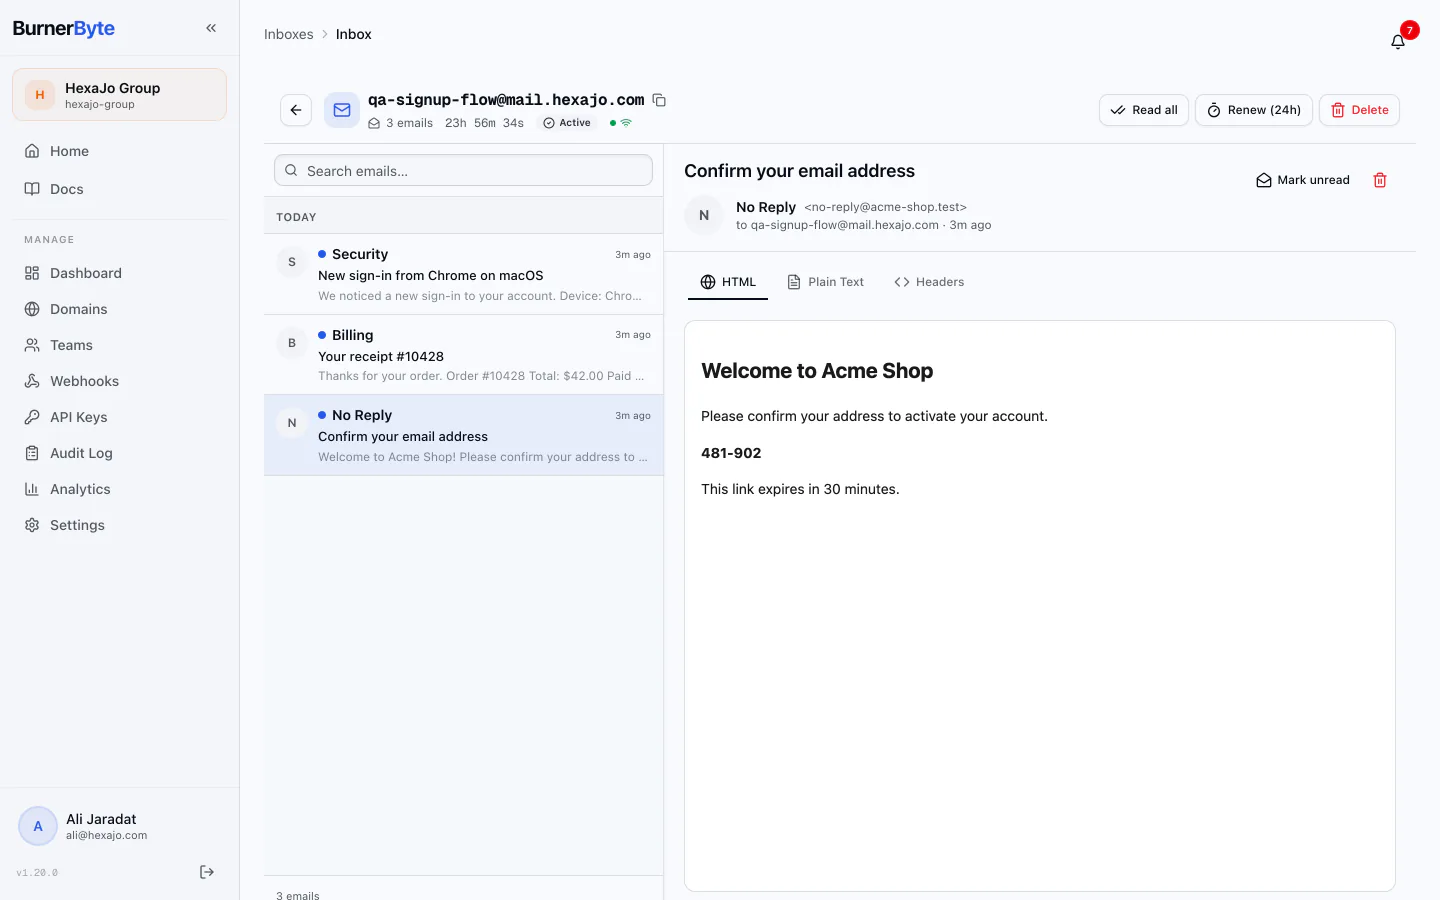
Once mail is flowing, the inbox reader shows it arrive live: